Optical measurements

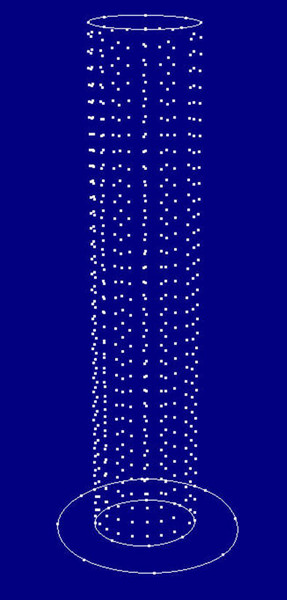
Using optical 3D measurement techniques, it is possible to detect a body using coded targets placed on the surface of the body. By evaluating the data, a point cloud is obtained. For example, unevenness and deformation of component surfaces can be detected, e. g. buckling and buckling failure of a circular cylinder shell.

Beim Reverse Engineering compares the geometry of an already existing object (actual state) with the ideal geometry of the object planned in CAD (target state). For this purpose, the 3D point coordinates from a graphics program and an ideal geometry are superimposed on each other in the best possible way (best fit analysis) and their deviations from each other are determined.

Optical measurement of a cylinder surface
Point cloud of the cylinder

Once a test specimen has been optically measured, it is positioned in the test bench and equipped with additional measuring technology. Parallel to the metrological recording of displacements via inductive displacement transducers and strain measurement via strain gauges, the measuring system can be used for optical 3D deformation analysis. Thus, the course of the deformations during the axial pressure tests can be measured not only selectively, but also over a wide area.


Services

SKI Ingenieurges. mbH offers the following services in the field of optical measurements:

  • Test accompanying and monitoring activities
  • Construction and calibration of numerical models for recalculation
  • Import of point clouds and measurement data from the experiments
  • Recalculation of test results in the static, dynamic and transient range
  • Evaluation and interpretation of measurement results, as well as comparison of numerically supported test methods
  • Creation of measurement concepts, reports and expert opinions

Copyright © 2024 

SKI Ingenieurges. mbH
Mengendamm 12
30177 Hannover

Phone: +49 (0) 511 / 261847-0

Consulting Engineers

BWE Expert Advisory Board